Everyone has a mobile phone, if you own a business, this is probably paid for by the business and the number is your business contact. You may also send and receive email’s and have many social media accounts for your business.
- Do you take photos and post them on social media?
- Do you just put a description in the post?
- Are there 1000’s on your phone and don’t know why?
- What are they of?
- Where are they taken?
The point is that if you work on the photo, how and where you post/save it will increase your web presence and brand awareness, but you just need to follow these steps.
Google quote – ‘90% of customers are more likely to visit a business that has added photos to their Google business listing’
Before you start –
1. Phone GPS ON (default setting)
Be aware that we are all being tracked if this is ON, but no marketing is free!!! But it needs to be ON when you are taking a photo otherwise you cannot tag it to a location / business / building.
2. Verified Google account
Ideally your work email account but it does not matter, but remember whatever you comment on personally will reflect on your business, people buy from people.
3. Photo settings to use/save to Google Photos
This will allow you to quickly upload to Google Maps and get statistic reports on the amount of views/impressions
4. Business address on Google maps
This will allow you to upload the photo to your business address, so if you search your business these photos will appear, thus increasing your presence.
5. Website verified by Google / Bing Places
This will allow you to analyse the searches on your website and the photos.
6. Know and list your keywords/phrases/customer searches i.e what would someone type in a search engine to look for your product / service.
Key to any business website is someone landing on it and instantly knowing they are in the right place, “you have exactly what I am looking for, this company can help me” It must also be clear what products/services you provide, write a list and ask every new customer what they typed into their search engine to find you.
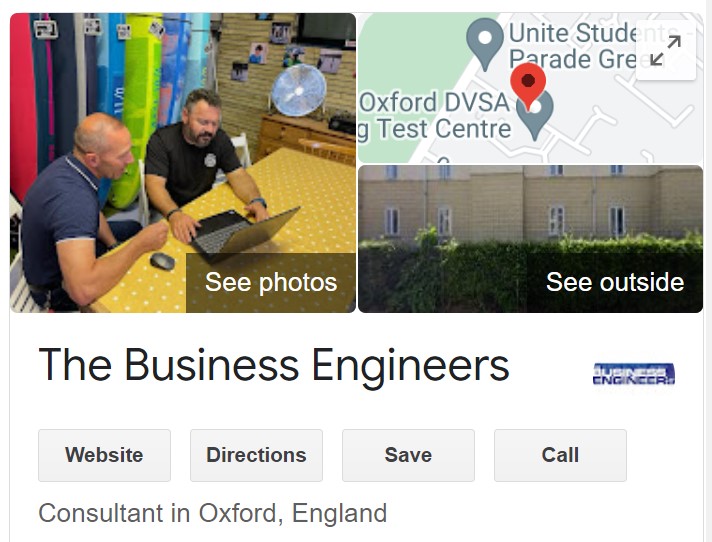
7. Search your business and it should appear and let you know that you are managing it ‘my business profile’, you may also use all your social media channels.
This app will allow you to quickly upload and get statistic reports on the number of views/impressions. You can also post events, offers, videos, updates, business hours, contact details, then share to other platforms. You will also get monthly reports on views, searches and activity over the past 28 days. Also, if a particular photo is viewed many times, you will get an email from Google, congratulating you!

8. Set up company pages on all social media platforms such as LinkedIn, Facebook, Twitter, Instagram which will all need to be linked to your website and in reverse.
9. Download other Business Apps, such as ‘Facebook, Twitter, Instagram, Bing Places, Yell Business’ where you can have a free listing, but make sure this is a business account and you have a company page.
10. Know your products and services
If you are going to take a photo, it must be relevant to the business, show what you provide, you can actually do it, you actually sell it, thus making you more credible. This product/service will be in the description along with your company name.
11. Do you have permission?
If you are going to take a photo with a person within shot, ask them first. Also, if you’re at your customers premises, include their business name as well, but there are some sensitive sites where their rules do not allow you to take any photos. Some company’s systems will detect that you post their name on the internet and this may also breach confidentiality. Check before or ask if you are being inducted to the site.
12. Know your location
So, this will allow you to also post the photo to a town/city if you cannot include specifically where the photo is taken. You may just post that you have provided your product/service in the town/city or to your business address. This will go back to 6, keywords/phrases.
13. Think about what’s in the shot?
This is where you actually prove who you are, what you do or provide as evidence to back up your message of telling what you do. You should always have at least one example of each product/service that you provide for posting, website and social media. No stock images!!! Your actual photos that you have taken or someone has taken on your behalf.
The building, location, product, providing the service, your logo, company vehicle, a happy customer, actually doing the work, before work commences, after completion of the work and so on.
You may also use a collection of these as a testimonial, project, news article, blog on your website, social media.
Examples
“A motorised blind supplied and installed to Mrs Smith in Kidlington by Oxblinds ltd”
“A new PC monitor supplied with free PC health check for Redbull Racing in Milton Keynes by The PC Guys”
“Garden designed and landscaped for Mr Smith using Cotswold stone by Greener Gardens Ltd”
“Emergency plumbing call out to repair burst pipe for Mrs Smith in Headington, Oxford by Peter Piper Plumbing”
“A combined pension plan which released funds for the Smiths of Bloxham to enjoy their retirement provided by Arch Angels Pensions”
How
1. Take photo and then add description
For Apple – Simply open your Photos app and select the specific image you want to edit. Select “Edit” to add custom text to your photo and tap the “More” icon. Select “Markup” and then tap the “Plus” sign to add a caption to the photo in a plain text format. After selecting the option, type the text to caption the photo.
For android – Tap or click in to view a single photo, then select the information button (a small “i” icon) to view more details on the photo.
You’ll see things like the capture date, file name, camera model and location — select “Add a description”, now add your text.
2. Now select share and choose Google Maps, or another app you would like to share it to.
3. Google maps will open with your selected photo and automatically at the top of the screen is the location where it was taken. This maybe the business address that you actually want to use. Next to that there is a drop-down arrow so that if this is not your desired location it will select all of the businesses around.
If you would like to post this photo to your business/another location, select the drop-down and scroll to the bottom and select ‘somewhere else’. This brings up a search bar and start typing in your business name, find it and select.
You may want to post it to both the location where it was taken and your business, so you will have to do this process again as you cannot select multiple locations during a share to maps. It also means that you could share to maps at anytime, anywhere in the world.
Another useful tip is that if you acquire a photo from someone in your business who shared the photo to your phone you may use this to post. This could be used where you include in your company procedures that all products/services supplied all have a photo taken at that point, go back to ‘examples’ above.
Example
You have a landscape company and ensure that when every job is complete the installation team takes a photo and sends it to you for posting.
4. Tap on the picture, then ‘add a caption’
This will be your keywords/phrase/location and company name;
“Garden designed and landscaped in Oxford for Mr Smith using Cotswold Stone by Greener Gardens Ltd”
5. Tap on picture and look at the shot. You can edit the photo just for this app allowing you to crop, change light levels, draw over, etc. select ‘save a copy’ if you modify.
6. Once you are happy with the photo and description, select ‘post’
7. To check that your photo has been uploaded in Google Maps go to the bottom search bar to find ‘contribute’, then select. Scroll down to ‘your photos received’, then select ‘see your photos’. The top photo should be the one that you have just posted.